How To Raise Game Birds
Raising game birds can be a rewarding experience! Whether you decide to raise them for profit or just raise them for your own personal use, there are a few things to know before getting your game birds. Read this guide to help you learn the steps needed to successfully raise game birds.
5 Things To Consider To Successfully Raise Game Birds
For all who raise game birds, there are five important categories that one needs to focus on in order to successfully raise game birds!
Genetics
One of the first and most important things that you have to look at prior to raising game birds is ensuring that you’re getting quality birds from respected hatcheries! Stromberg’s is a great company to look at when shopping for game birds.
Stromberg’s Chickens works with well-respected partner hatcheries to ensure you have access to quality game birds too! Choose from game bird babies or fertilized game bird eggs if you’re interested in incubating and hatching them yourself.
Environment
Make sure that you have a proper place to raise them! In most cases, when you get game bird chicks you want to have the following set up:
Brooding Area
This is where your game bird chicks will stay when they are young. Make sure that the area is cleaned and disinfected prior to the birds arriving. This area should be weathertight and free from any drafts. Create a stress-free environment with bedding, like wood chips, burlap, or brooder paper.
This area should have a heat source and easy access to water and feed. It is recommended to use a 250 Watt Infrared bulb for every 100 chicks. As your chicks get older, you’ll slowly ween off of the lamp heat source so that the young birds can have an easier transition to the outside environment.
Flight Pen
Once the chicks are old enough, move them to an outside environment, into a flight pen! Below is a list of everything you need to construct a game bird pen:
- Posts – Place the posts 12’ apart or 10’ apart in the center. Make sure that all four corners of the pen are braced. This helps prevent the corners from pulling in.
- Side Wire – Bury and flare out PVC-coated mesh hex wire to prevent predators from digging in. Ring the sections of wire together to make it bigger.
- Top Net – Get heavy-duty knotted netting to put over your flight pen. This will help prevent your game birds from flying away.
- Pen Support – Aircraft cable can add extra support to the pen. Run the cable along the tops of all of the posts. It also adds support for the top net. In addition to supporting the structure, it can also divide the pen in half if needed.
- Prop Posts – Place these posts at each location where the cable crosses in the pen.
- Cover – Make sure that there is a low cover in the flight pen. Adding this cover to a flight pen can help birds from getting restless and pecking one another. In addition to the lower cover, add a taller cover to help protect the flock from the elements.
Nutrition
Ensure that animals and the chicks always have access to water and feed. Depending on the number of birds you’re raising, it is recommended to get game bird waterers and large game bird feeders to ensure that the birds always have access to water and feed.
It is also important to make sure that there are plenty of waterers and feeders available for the birds and that they are spaced far enough apart from each other.
Sanitation
It’s important that the brooder and pen areas are clean and sanitized prior to getting your chicks or when moving eggs and flocks of different age groups.
Disease Anticipation
Although there are preventative measures to take for your birds, that doesn’t mean that your birds are free of getting sick. It is recommended to keep a flock of birds of different ages separated from one another to prevent any disease spread and to limit the number of people working with the chicks.
It’s also recommended to keep some poultry medications on hand for any instance of health issues that may arise. Certain game birds tend to play rough, so having wound treatment supplies nearby, can help reduce the possibility of an infected wound leading to more severe health issues.
-----------------------------------------------------------------------------------------------------------
With these things in mind, it’s also important to know that these steps can vary depending on the kind of game bird that is being raised. This guide will focus on the main game birds that are raised: pheasants, quail, and chukars birds.
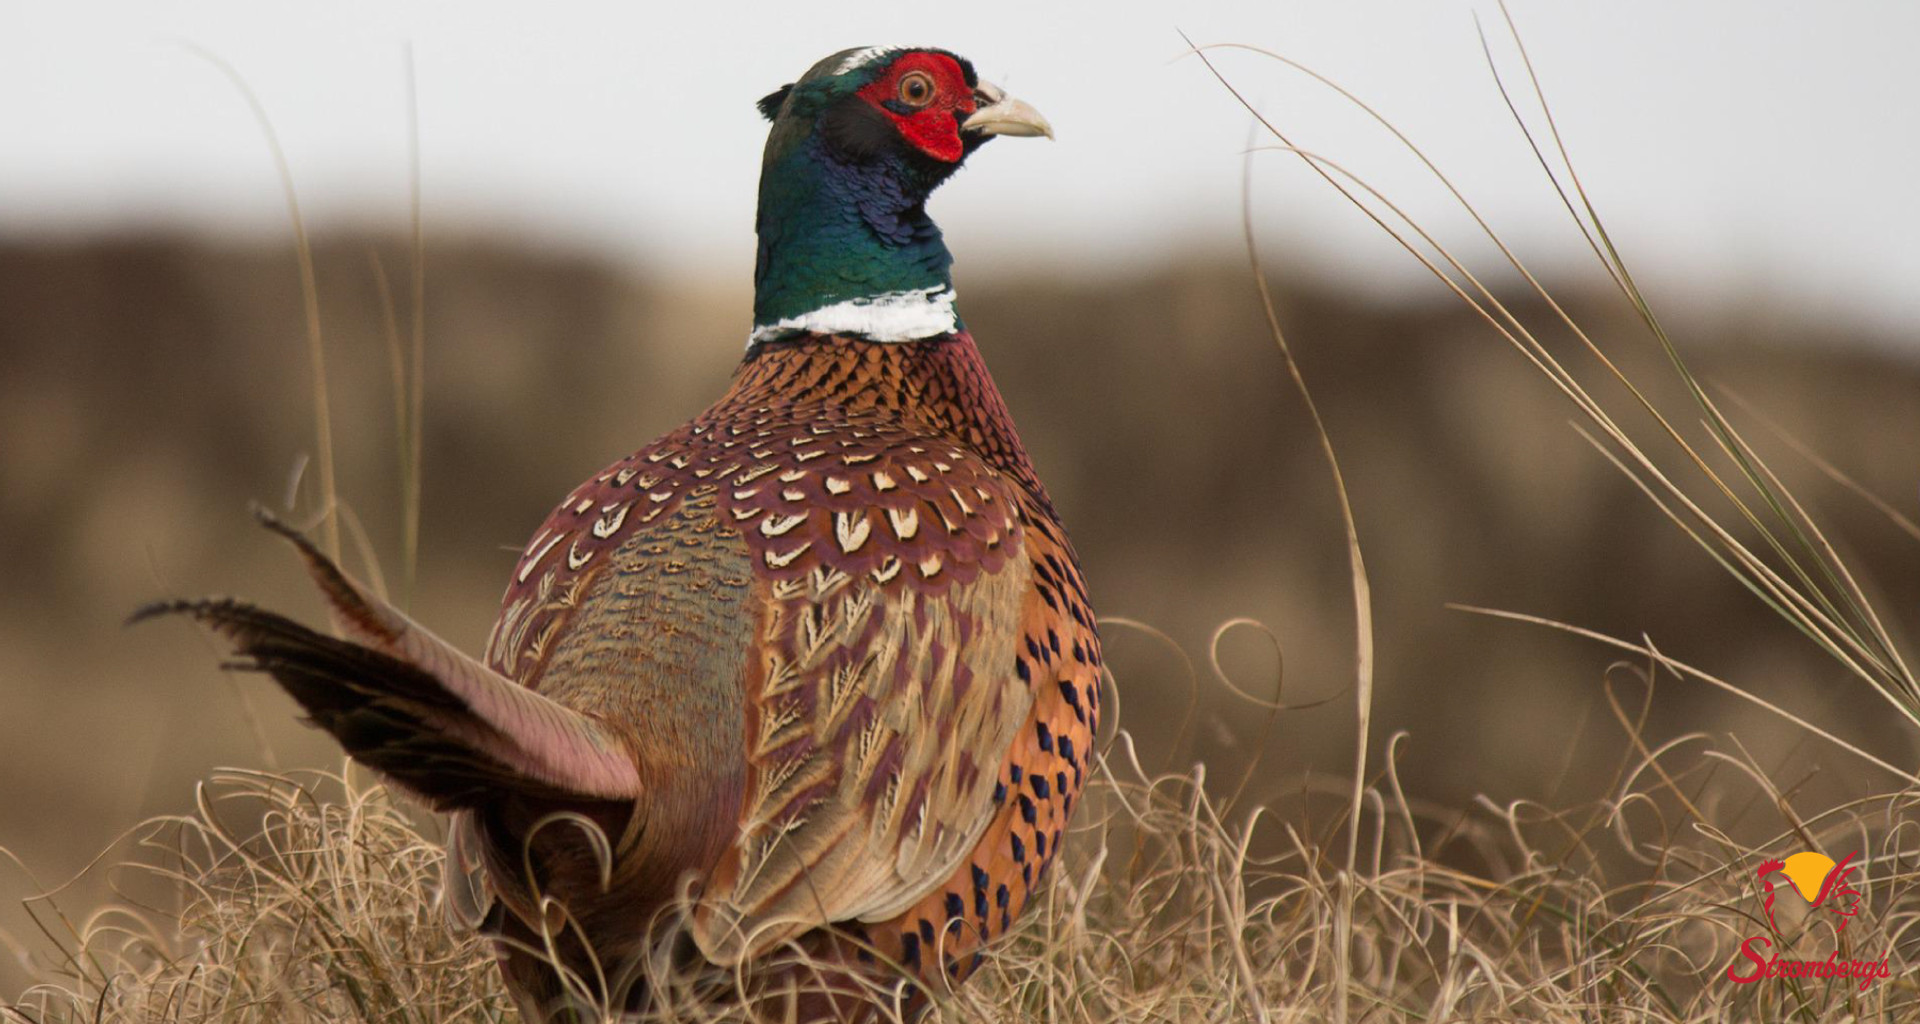
Raising Pheasants
Time in Brooder: 6-8 Weeks
Space Needed: First 3 weeks: ¼ square foot per chick. After 3 weeks: ½ square foot per chick; Keep them like this for 6-8 weeks before moving them to flight pens.
Space Needed For Flight Pens: If the wild birds have peepers, allow 25 square feet per bird.
If they don’t have peepers, allow 60 square feet per bird.
Heat Source: 250-watt infrared bulb for every 100 chicks. Start at 95ºF and reduce the temperature by 5ºF each week.
Amount and Type of Feed: The amount of game bird feed needed for your pheasant chicks depends on their purpose!
Raising Quail
Time in Brooder: 5-6 Weeks 1-7 Days: Check them daily and nightly 7-14 Days: Reduce the temperature to 95ºF; Add to the water.14-21 Days: Reduce the temperature to 90ºF;
Make sure the birds are not overcrowded.21+ Days: Reduce the temperature to 85ºF; Reduce every week after 5-6 Weeks (Weather Dependent): Move the birds to the grow-out pen.
Space Needed (per sq ft):1-10 Days: 6 birds10 Days: 6 Weeks: 4 birds6 Weeks: 2 birds Flight Pen: If raising game birds for meat, add wire floors to the floors.
If raising to release, have a dirt floor. Flight Pen Space Needed: At least 8 ft wide x 25 ft long. Allow 2 sq ft per bird. Heat Source: Infra-red brooding lamp Start at 95ºF and reduce the temperature by 5ºF each week.
Amount and Type of Feed: The amount of game bird feed needed for your quail depends on their purpose!
Raising Chukars
Time in Brooder: 8 Weeks
Space Needed: As Chicks: 1 sq ft for every 3 chicks. As Adults: 2 sq ft per bird.
Heat Source: Brooder Plate. Start at 95ºF and reduce the temperature by 5ºF each week.
Amount and Type of Feed: The amount of game bird feed needed for your chukars depends on their purpose.
Rounding Up
We covered a lot about raising game birds and what you’ll need on hand to keep your flock happy and healthy. Start raising game birds for meat or to release wild about! Shop Stromberg’s for your game bird chicks and all the game bird supplies that you need.