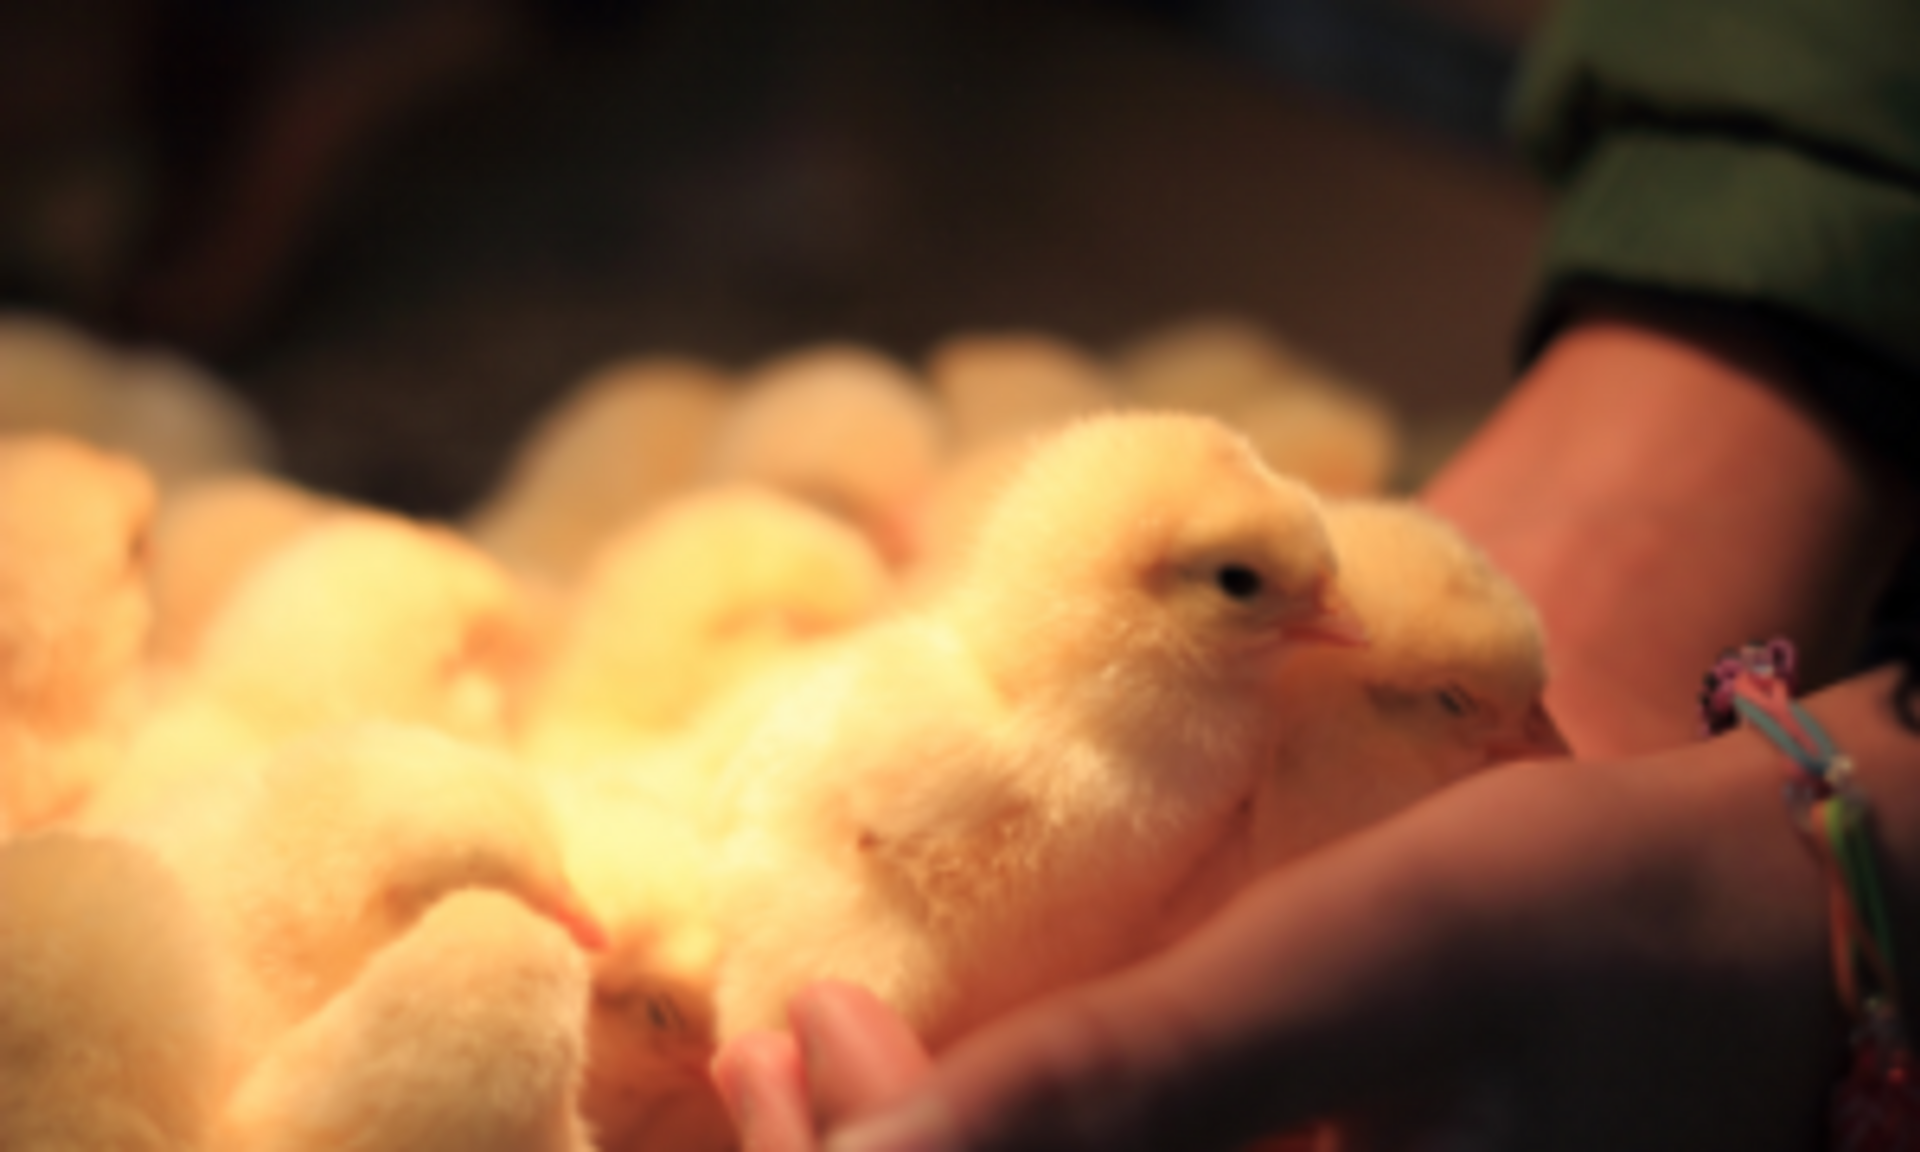
How to Care for Baby Chicks, Ducks, & Geese
BABY CHICKS NEED FEED, WATER, HEAT, LIGHT & SPACE.
For chicken enthusiasts, particularly those new to the joy of raising chickens, knowing how to care for new chicks is essential. Here's a comprehensive guide to ensuring your backyard chickens, especially young chicks, are raised in a healthy environment.

FEED
Baby chicks need special attention during their initial weeks. Use a chick starter feed for the first 8 weeks or follow the instructions specific to your feed. For the first three days, cover the floor with several layers of paper towels and sprinkle feed over them.
This method not only assists new chicks in finding their feed more easily but also ensures they're feeding in a clean environment. Soon after, use feed troughs that young chicks can access easily.
For every 50 chickens, a two-foot trough feeder is recommended. Regularly checking the feed ensures that it's fresh; older feed can lose many vital nutrients essential for baby chicks. Tips for maintaining a healthy feed regimen include ensuring your chosen brand has had a short shelf life and never letting your chickens run out of feed.
WATER
Hydration is vital for young chicks. Have a one-gallon chick waterer available for every 50 chicks. The first two days can benefit from a touch of table sugar added to the water, giving new chicks that much-needed energy boost.
However, after this period, plain water is best. Introduce your new chicks to drinking by dipping their beaks into the water. Most losses in baby chicks are due to them not starting to drink or eat. Ensuring a continuous supply of clean water and preventing chickens from entering the water is crucial.
HEAT
The right temperature is critical when raising chickens. For the first week, maintain an environment of 90 to 95 degrees. Gradually decrease this by five degrees per week until it's stable at 70 degrees.
Observing your chickens can give you tips about the environment's comfort; if they huddle under the light, they're cold, while scattering means it's too warm. A 250-watt heat bulb is an excellent source for warmth.
Red bulbs are preferable as they cause less picking among the chickens. For colder conditions, one bulb per 50 chickens is advised, while in warmer climates, one bulb for 100 chickens suffices.
LIGHT
If you're using a heat bulb, it doubles as a light source. Otherwise, provide your chickens with ample light, especially on dark days. A dim light at night prevents chickens from piling up.
SPACE
Space is crucial for a small flock. A rough estimate is ½ square foot per chick. Draft shields, typically made of cardboard, can protect your chickens from unwanted breezes. The size of the circle created should be suitable for the number of chickens, allowing them to move away from heat if necessary.
LITTER, GRIT, AND OTHER CONCERNS
Peat moss, shavings, or ground corn cobs are great litter options for chickens older than two weeks. Essential tips include ensuring shavings are kiln-dried and keeping litter covered initially to prevent chicks from eating it.
After three days, introduce baby chick grit, sprinkled lightly on the feed. If baby chicks start picking at each other, this could be due to multiple reasons, such as heat or lack of space. Introducing fresh green grass clippings can help curb this behavior.
SPECIAL CONSIDERATION
Maintain cleanliness and safety by washing hands before and after handling birds. Avoid close contact like kissing, and always supervise children around poultry.
When raising a small flock, especially young chicks, understanding their needs and ensuring a healthy environment is crucial. With the right care and tips, your backyard chickens will thrive.
AFTER FOUR WEEKS
- Increase floor area to 3/4 sq. ft. per chick.
- Increase feeders to provide 2-1/2 to 3″ of space per chick.
- Increase waterers to one 5-gallon fount per 100 chicks.
- Make sure the grit hopper is filled with proper-sized grit. Check with your feed store.
- Install roosts at the back of the brooder. Allow four inches per bird with roost poles six inches apart (Not necessary for waterfowl).
- Open windows in day time. Leave only partly open at night.
- Prevent water puddles around founts.
- Chicks can range outside on warm, sunny days, but only if a clean range is available.
SPECIAL INSTRUCTIONS AFTER THE CHICKS ARRIVE
Follow these instructions to care for your chicks:
IF THE CHICKS HAD A HARD TRIP
Instead of using the standard feed and water suggestions listed above, try this: Put 6 tablespoons of sugar in each gallon of water. Then mix some of this extra sweet water with some of your feed to make a soupy mix.
Give your chicks this special feed and water mix for 3 to 4 days to get them over the effects of shipping. Also, try hard boiling eggs and mash up the yolks and give it to them. It is always good to give your birds a vitamin supplement upon arrival.
REAR END “PASTY BUTT”
Sometimes the stress of shipping causes the manure to stick to the rear of the chick. It is important to remove this daily. Pull off gently, or better yet, wash off with a cloth and warm water. It will disappear in a few days as the chick starts to grow. Make sure chicks have access to water at all times.
CORNISH ROCK CROSS
Try starting Cornish Rock Cross chicks on a broiler starter. The higher protein seems to help them avoid leg problems. After the first 2 weeks, remove uneaten feed at dusk. Fill the feeders again in the morning. Leave access to the waterers 24hrs/day.
QUAIL, PHEASANT, CHUKAR, GUINEA, TURKEY CHICKS
A higher protein feed is needed by game birds – 28% to 30% protein is a must! Many feed companies make an excellent line of gamebird feeds with the needed higher percentage of protein.
If you cannot get this gamebird starter ration, then a turkey starter will be sufficient. For very young quail chicks, the feed must be ground fine to avoid “starve outs”. Quail chicks do best when the brooding floor is warm.
Draft free brooding and drinkers with narrow founts are a must for starting quail chicks. Some quail hobbyists add 1-2 T. of red Kool-Aid to 1 qt. of water for the first few days. The red color seems to be attractive to the quail chicks and encourages them to drink. Turkey poults are slow to start and they like to be warm. Poults have poor eyesight so make sure you have extra feeders and waterers in the brooding area so they can always find one. GUINEA KEETS, use the information provided for quail chicks.
EXTRA CAUTION TO THOSE STARTING DUCKLINGS AND GOSLINGS
Do not feed a “medicated” feed to them – ask your feed dealers advice on this! All major feed companies do make a duck & goose starter. You may have to request your feed store special order this starter feed. If using a non-medicated chick feed, add vitamin-niacin to feed or water.
Chicken layer ration has too much calcium for young waterfowl. Ducklings have a tendency to become dehydrated during shipping. Initially let the ducklings drink all they want for 10-15 min, then remove the drinkers for another 10-15 min; repeat this process then return the drinkers permanently.
Ducklings and goslings tend to grow more quickly than chicken chicks. They need less brooding heat for a shorter time compared to chickens. Start at 85-90 degrees F and decrease by 5 degrees F each week until birds are fully feathered. Make sure to provide them with waterers that are deep enough for the birds to put their heads/bills in, but not their bodies.
BROODING PEACHICKS
Peachicks need warmer brooding temperatures. Start at about 100 degrees F. and decrease by 5 degrees each week until peachicks are fully feathered. Peachicks are VERY sensitive to drafts. Draft free brooding area is a MUST. Hand water each peachick on arrival. Add marbles/small rocks to fount tray to keep peachicks from climbing in.
Our breeder starts peachicks out on scrambled eggs/yogurt for the first few days. Also offer 28% protein starter feed, gamebird or turkey starter. Like turkey poults, peachicks are slow to start. Make sure to change the litter frequently and remove any damp spots.
Contented peachicks often stretch out on the brooder floor. Peachicks can be prone to coccidiosis so make sure to frequently clean the litter. A high protein starter feed that is treated with coccidiostat medication is ideal..
EMERGENCY FEED
Finely chopped boiled eggs!
GIVE EXTRA ATTENTION…
Chicks not starting to eat need special care. It’s important they drink & eat early!
SEPARATE CHICK OR CHICKS NOT OFF TO A GOOD START:
Your extra attention to hand feed is a MUST!
BE PREPARED
Have your brooder operating at the optimal temperature, the feeders and drinkers filled before the chicks arrive. GO TO THE POST OFFICE AND PICK UP YOUR CHICKS AS SOON AS THEY ARRIVE. Let your postmaster know they can call you anytime the chicks come in.
The chicks need to be put in the brooder and be fed and watered right away. We recommend having a good reference book on hand for the particular species of bird you are raising; complete reading BEFORE the chicks arrive!
General Guidelines Age Floor space sq.ft/bird
Pheasants 1-3 weeks 0.5
- 4-8 weeks 1.0-2.0
- 9-16 weeks 4.0
- Mature 20.0 confined settings
Quail/Keets 1-3 weeks .25
- 4-8 weeks .5-1.0
- 9-14 weeks 1.5
- Mature 5.0-10.0 confined settings
Ducks 1-3 weeks 0.5-1.0
- 4-8 weeks 3.0
- 9-12 weeks 3.5
- Mature 9.0 confined settings
Geese/Turkey 1-3 weeks 1.0
- 4-8 weeks 1.5-3.0
- 9-12 weeks 6.0+
- Mature 20.0 confined setting