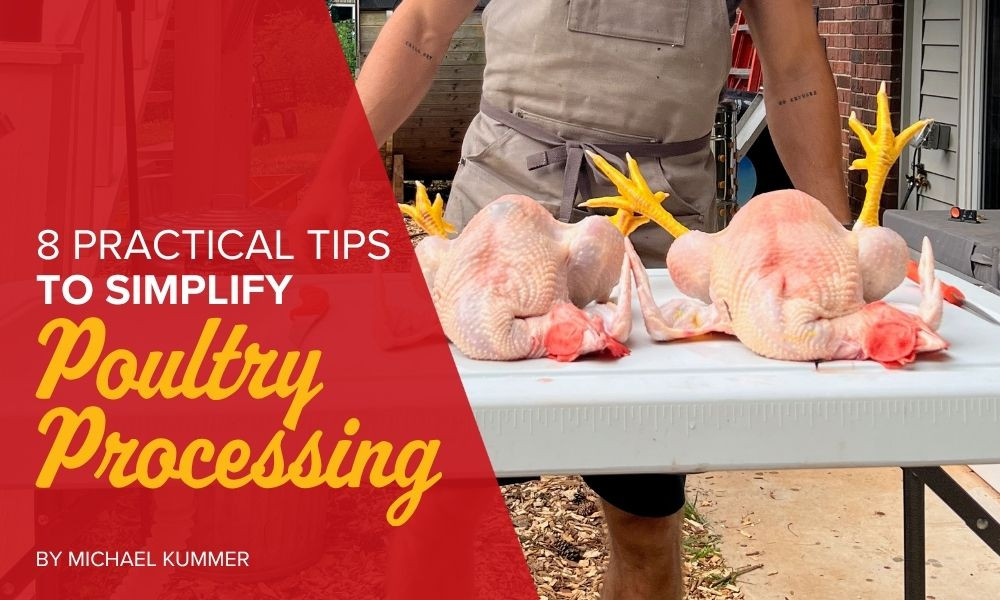
8 Practical Tips to Simplify Poultry Processing
The first time we processed chickens on our homestead, I thought I was prepared. I had done my homework, watched videos, read forum posts and ordered what seemed like the right equipment.
But no matter how much research you do beforehand, there will always be something you didn't (or couldn't) fully anticipate. That's just the nature of learning a hands-on skill.
The good news is that with the right preparation, you can avoid the biggest mistakes. The rest you figure out as you go. We're still improving, adapting and fine-tuning our processing methods every single time we do it, and I expect that won't change.
In this article, I'll share both practical tips and mistakes to avoid based on our experience. It's written primarily for people who are just getting started with poultry processing, but there are a few things in here that even experienced homesteaders might find useful.
Why Processing Poultry Yourself Is Worth It
There are practical and philosophical reasons to process your own birds.
The practical one: you control the entire chain from hatch to table. You know how the animals were raised, what they ate, and how they were handled at the end. That matters for food quality and for peace of mind.
Economically, you're likely never going to out-compete a mass producer on cost. That's just not how it works at a small scale. But what you can achieve is a quality of meat that no large processor or commercial farmer can match. Pastured birds that you've raised and processed yourself are simply in a different category.
The philosophical reason is harder to articulate, but just as real.
When you raise an animal and process it yourself, there's a kind of honesty in it. You're not outsourcing the harder part of the equation. You see the whole picture, and that changes how you think about food, waste and gratitude.
On our homestead, processing day has become something we approach with genuine respect for the animals. We're thankful for what they provide.
With that said, let's get into practical tips to make processing chickens as simple as possible (based on our experience), starting with the day before you process.
Pull the Feed the Night Before
One of the simplest things you can do to make processing day easier is to pull your birds' feed the evening before. An empty crop and gut means less mess when you're cleaning the carcass and a lower risk of contaminating the meat. It's easy to forget this prep in the middle of everything else you're doing, so build it into your routine early.
Pre-Stage Your Processing Station

Processing day goes better when everything is already in place before the first bird goes into the cone. We set up the night before now, and it genuinely changes how the morning feels.
When your equipment is staged, your table is clean, your knives are sharp, and your cooler is ready, you can focus on the work instead of improvising.
A few things that matter for your station: you need a solid, clean work surface at a comfortable working height (a folding table saves your back over a long morning).
You need a hose with easy access nearby to rinse birds and equipment as you go.
And you need a way to cool the dressed birds quickly.
We use a large cooler with ice water, which brings the internal temperature down right away. From there, the birds go to a drying rack before vacuum sealing.
For the drying rack, we built our own using Schedule 40 PVC pipe based on plans from Justin Rhodes. It's inexpensive, easy to clean, and holds birds nicely while they air out before going into the sealer.
Side note: I prefer using a vacuum sealer over boiling bags or hot-water methods.
Keep The Birds Calm As You Move Them

On processing day, you need to move your birds calmly and efficiently to your station. If your birds are in a stationary coop, transport crates are a convenient way to do this. While it’s most convenient to load them the night before (if you plan to start early), I’d opt to load them the morning of, so they don’t have to spend the night crammed into a crate.
Birds are calmer in a crate than being chased around a coop, and you can stage several at a time close to where you'll be working. If you're using a mobile chicken tractor as we do, the simpler approach is to move it the evening before so it's already positioned near your processing area.
Either way, less chaos at the start of the morning makes the whole day go smoother.
Use the Right Size Restraining Cone
The restraining (or kill) cone holds the bird inverted, which calms it and keeps it still during dispatch. It also allows blood to drain efficiently, which matters for both cleanliness and meat quality.
How you dispatch the bird depends on what you're using it for. For birds destined for the table as whole cuts or pieces, we cut the blood vessels on the side of the neck and let the bird bleed out while the heart is still pumping.
That might sound harsh, but the blood loss is so rapid that the bird loses consciousness within seconds. Thorough bleeding also improves meat quality and shelf life, which is why it's the standard method for meat birds.
For birds that are going straight into the slow cooker for chicken stock, we simply break the neck instead. Since those birds will cook low and slow for hours anyway, incomplete bleeding doesn't affect the flavor, and it's a faster method when you're not concerned about the final presentation of the meat.
Where we went wrong early on is that we ordered cones that were too small for our slower-growing broilers at processing weight. Trying to fit a heavy bird into an undersized cone is frustrating and, more importantly, harder on the bird.
We sourced larger cones fairly quickly once we recognized the issue, but I'd rather you just skip that step. That said, there's also such a thing as a cone that's too large — a bird that fits too loosely won't stay secure, which defeats the purpose. The best approach is to order the size you think is right for your breed, then test it with a live bird before processing day. A quick fit check costs you nothing and tells you everything.
One more practical note on the cone: after you make your cut, hold the bird's feet. In the first minute or so, the bird will flap reflexively, and if you're not holding the feet, it can work itself out of the cone and create a mess. Some homesteaders tie the feet using a string attached above the cone. I found that holding the feet for 30-60 seconds is just as effective.
Something we also do is add a little water to the bucket collecting blood beneath the cone. It keeps blood from coagulating and sticking to the sides, making cleanup at the end of the day significantly easier.
That’s a simple thing worth knowing from the start.
Keep Your Knives Sharp
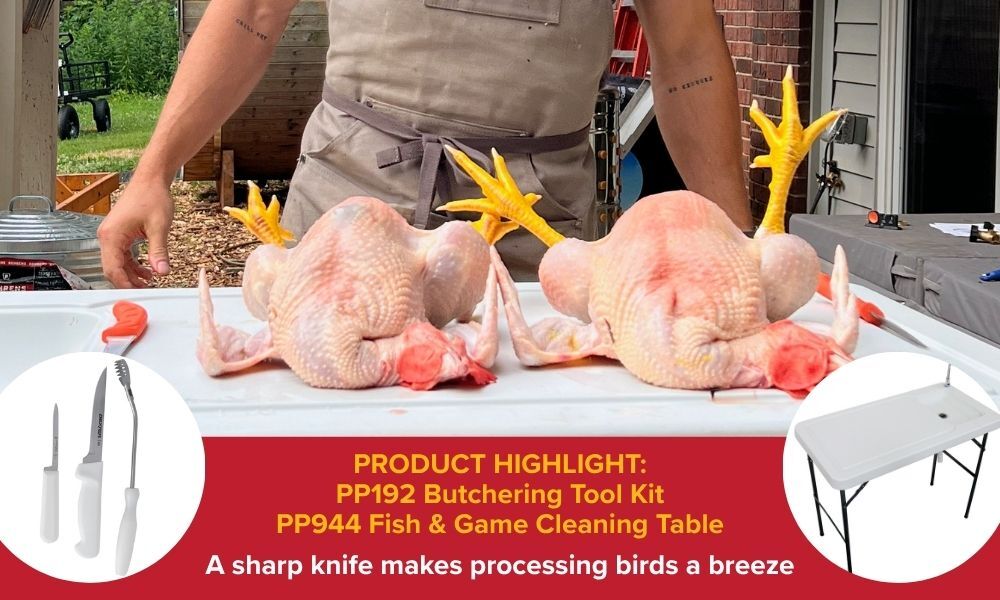
A dull knife is one of the most common beginner mistakes, and it compounds throughout the entire process. A sharp knife is safer, more precise, and far less exhausting to use.
We use two dedicated knives on processing day. The first is a sticking knife used only for severing the blood vessels near the neck. By keeping it isolated to that single task and being careful not to hit bones, the blade stays sharp much longer. The second knife handles the cleaning and butchering work.
Keeping these roles separate sounds fussy until you realize how much easier the whole day goes when your sticking knife still has a clean edge after two dozen birds.
Avoid cutting through bones whenever possible, as it quickly dulls your knife's edge.
And here's a habit worth building: sharpen all your knives when you're done for the day, even if you're exhausted. You'll be glad you did the next time processing day rolls around.
If you don't already know how to sharpen knives, learn. It's one of those fundamental skills that pays dividends every single time.
Heat Up Your Scalder Early
Scalding is the step that makes plucking possible. Done right, it loosens the feathers so they release cleanly. Done wrong (water too hot, too cold, or too brief) and you end up either tearing skin or fighting feathers.
The target temperature is generally around 145 to 150 degrees Fahrenheit, held for roughly 45 to 60 seconds. We prefer electric scalders over propane ones because they make temperature regulation much easier.
The most common beginner mistake with a scalder is not giving it enough time to reach the target temperature before you start. Depending on your unit's wattage, the ambient temperature, and how much water you're heating, it can take an hour or more to reach your target. Start heating it first thing in the morning, well before processing begins. Chasing temperature while birds are already in the cone is unnecessary stress.
Also, pay attention to the size of your scalder relative to the birds you're processing.
We ran into real trouble when we tried using our chicken scalder for turkeys. A large tom simply doesn't fit in a standard poultry scalder, and trying to make it work produces uneven results. If you plan to process birds of different sizes or species, factor that into your equipment decisions early.
A Plucker Is Worth Every Penny
Hand-plucking a bird takes somewhere between 10 and 20 minutes, depending on the scald and your technique. A mechanical plucker does the same job in under a minute. If you're processing more than a handful of birds, a plucker is not a luxury — it's what makes the whole operation practical.
We use a larger drum plucker that can handle multiple birds at once. That matters when you're processing 20 or 30 birds in a day.
Whatever you choose, the scalder and plucker work as a team. Your scald quality directly affects plucker performance, so don't underestimate the importance of either one.
Make It a Community Day

One of the best decisions we made was turning processing day into a social event. We invite a few friends or family members to help, and in exchange, they go home with one of the birds.
It makes the work faster, it's more enjoyable, and it passes along a skill that fewer and fewer people have.
If you have kids, processing day is also a powerful teaching opportunity. Ours have been involved from an early age, and while they had questions the first time, they came away with a realistic understanding of where food comes from that I think is genuinely valuable.
On the Emotional Aspect of Processing Your Own Chickens…
This is worth addressing directly, because it catches a lot of first-timers off guard.
There is a moment in the process that requires a certain decisiveness. If you hesitate or let emotion take over at the wrong moment, it becomes harder on you and harder on the animal.
The approach that works for us is a combination of compartmentalization and genuine gratitude. These animals were raised well. They had good lives on pasture. They're providing for our family. Acknowledging that — actually feeling it — makes the work feel purposeful rather than brutal.
But that acknowledgment is different from the sentiment that creates hesitation. Treat the animals with respect throughout the entire process, and move through the dispatch efficiently and calmly.
Over time, it becomes more natural but likely never easy.
A Few More Practical Notes Before You Start
Clear your calendar for processing day. Depending on how many birds you're doing and how many helpers you have, it can take several hours. We've found that splitting a larger batch across two days makes the whole thing feel much more manageable — less physical fatigue, and you're not rushing through the cleaning on tired arms.
Don't skip the feed restriction the night before. A clean gut is easier to work with and reduces the risk of contaminating your meat. Start heating your scalder well before you need it. Set up the night before when possible. Keep your station clean and organized throughout the day (this isn't just about aesthetics; a messy station slows you down and introduces contamination risk).
Give yourself permission to take your time, especially in the first season. Speed comes with repetition. What matters early on is building correct habits and clean technique.
Want to Follow Along?
If you're working toward processing your own birds and want to see how we handle things at Kummer Homestead — our setups, our mistakes, and what we've learned along the way — follow along on our social pages.
We document the real version of homesteading… not the curated highlight reel, but the actual day-to-day of raising animals, building food systems, and figuring things out as a family. Come find us and say hello.
And make sure to check out this video for a look at how we utilize Stromberg’s products to simplify and speed up processing day.

Website: kummerhomestead.com
YouTube: https://www.youtube.com/@kummerhomestead
Instagram: https://instagram.com/kummerhomestead
Facebook: https://www.facebook.com/kummerhomestead/
TikTok: https://www.tiktok.com/@kummerhomestead